How to Take Screenshots on Windows 10, Windows 11, and Windows 8
Mastering the Art of Screenshot Capture on Windows Devices
Introduction
Capturing screenshots on your Windows PC is a useful and convenient way to save and share information, images, or content displayed on your screen. Whether you want to capture the entire screen, a specific window, or a particular area, Windows provides various methods to take screenshots. In this guide, we will explore the different ways to capture screenshots on Windows 10, Windows 11, and Windows 8, including keyboard shortcuts, the Snipping Tool app, and the Xbox Game Bar.
Keyboard Shortcuts for Screenshots
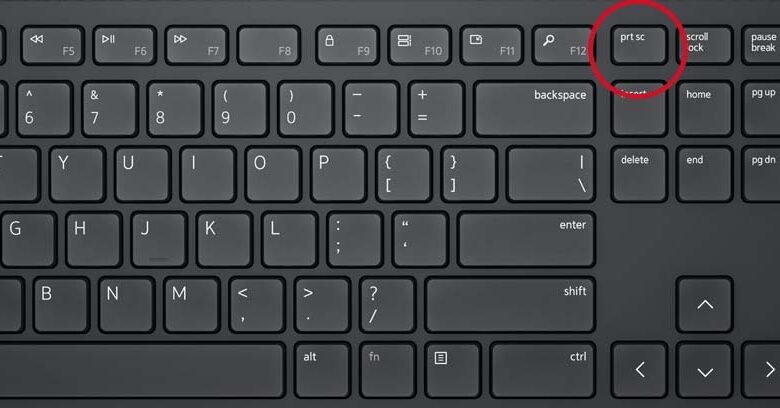
Windows operating systems offer several keyboard shortcuts to capture screenshots quickly and efficiently. The most commonly used shortcut is the “Print Screen” key, often labeled as “PrtScn” or “PrtSc.” Pressing this key captures the entire screen and copies it to the clipboard. Subsequently, you can paste the screenshot into an image editing program or a document.
For capturing only the active window, you can use the “Alt + Print Screen” keyboard shortcut. This combination captures only the window currently in focus, allowing you to isolate specific content without capturing the entire screen.
Using the Snipping Tool App
Windows includes a built-in application called the Snipping Tool, which provides more advanced options for capturing screenshots. To open the Snipping Tool, you can access it from the Start menu or search for it in the Windows search bar. Once opened, the Snipping Tool allows you to select the type of snip you want, including free-form, rectangular, window, or full-screen. After selecting the desired snip type, you can capture the specific area of the screen you want to save as a screenshot.
Utilizing the Xbox Game Bar
For users of Windows 10, the Xbox Game Bar offers a convenient way to capture screenshots while using various applications or playing games. You can open the Xbox Game Bar by pressing “Win + G” and then clicking on the camera icon to capture a screenshot. The Xbox Game Bar provides additional features such as recording gameplay, audio, and taking screenshots, making it a versatile tool for capturing content on your Windows PC.
Additional Tips and Considerations
When using the Snipping Tool or the Xbox Game Bar, you can also annotate or mark up the captured screenshots before saving or sharing them. This feature allows you to highlight important information, add text, or draw attention to specific elements within the screenshot.
In some instances, you may want to capture a screenshot of a specific menu or context menu that disappears when you click away. In such cases, you can use the “Delay” feature in the Snipping Tool to create a time delay before the screenshot is captured, giving you time to open the menu or context menu you want to capture.
Saving and Sharing Screenshots
After capturing a screenshot using any of the methods mentioned, you can save the image to your preferred location on your computer. Most screenshots are automatically saved to the clipboard, allowing you to paste them into image editing software or directly into a document. Additionally, you can use the built-in image editing tools in Windows to further modify and annotate your screenshots before saving or sharing them.
Conclusion
Capturing screenshots on your Windows PC is a straightforward process, thanks to the various methods and tools available. Whether you prefer using keyboard shortcuts, the Snipping Tool app, or the Xbox Game Bar, Windows provides flexibility and convenience for capturing and sharing screenshots of your desktop, applications, or games. By mastering these techniques, you can efficiently capture and save valuable information and content displayed on your screen.