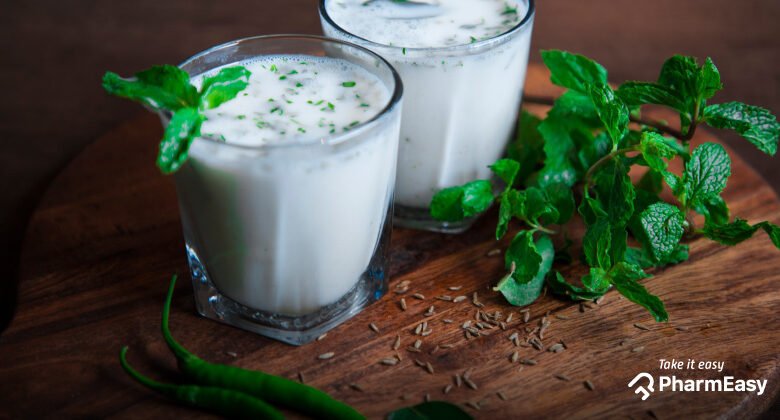
How to make Buttermilk
The Ultimate Guide on How to Make Buttermilk at Home: A Step-by-Step Tutorial

Are you tired of running to the store every time a recipe calls for buttermilk? Well, worry no more! In this comprehensive guide, we’ll walk you through the simple and satisfying process of making buttermilk at home. Not only is it a cost-effective alternative, but it also allows you to enjoy the rich and tangy flavor of homemade buttermilk in your favorite dishes. Let’s dive into the world of DIY buttermilk and discover how easy it is to whip up this kitchen essential.
Why Make Buttermilk at Home?
Before we delve into How to make Buttermilk, let’s explore why you might want to consider creating this dairy delight in your own kitchen. Homemade buttermilk offers a range of benefits, from cost savings to greater control over the ingredients. Store-bought versions often contain additives and preservatives that you can avoid by crafting your own buttermilk. Plus, the process is surprisingly straightforward and requires minimal effort. So, whether you’re a seasoned home cook or a kitchen novice, making buttermilk at home is a rewarding and delicious endeavor.
Ingredients You’ll Need:
To get started on How to make Buttermilk adventure, gather the following simple ingredients:
- Fresh whole milk
- White vinegar or lemon juice
That’s it! With just these two readily available items, you’ll be well on your way to whipping up a batch of creamy buttermilk in no time.
Step-by-Step Guide- How to Make Butter Milk:
Step 1: Measure Your Ingredients
Begin by measuring out the desired amount of fresh whole milk. For every cup of milk, you’ll need about one tablespoon of white vinegar or lemon juice.
Step 2: Acidify the Milk
Pour the measured milk into a bowl or a jug. Add the white vinegar or lemon juice and give it a gentle stir to ensure even distribution. Let the mixture sit for about 5-10 minutes. During this time, the acid will start to react with the milk, causing it to curdle slightly.
Step 3: Check for Curdling
After the designated waiting period, check the mixture. You should notice that the milk has thickened slightly and may have small curdled bits. This is the magic of buttermilk in the making.
Step 4: Stir and Test
Give the mixture a good stir to combine the curdled milk and the liquid. To test its readiness, dip a spoon into the mixture and lift it up. If the buttermilk coats the back of the spoon, congratulations – you’ve successfully made buttermilk!
Step 5: Adjust Consistency (Optional)
If you prefer a thicker consistency, you can let the mixture sit for a few more minutes. Alternatively, if you like a thinner buttermilk, you can add a bit more milk and stir until you achieve your desired texture.
Step 6: Transfer and Refrigerate
Once you’re satisfied with the consistency, transfer the homemade buttermilk into a clean container with a lid. Store it in the refrigerator for future use. Homemade buttermilk can be refrigerated for up to two weeks.
Tips and Tricks:
- Use Fresh Ingredients: Opt for fresh whole milk to ensure the best flavor and consistency in your buttermilk.
- Experiment with Ratios: Feel free to adjust the ratio of milk to acid (vinegar or lemon juice) to suit your taste preferences.
- Enhance Flavor: For a subtle flavor boost, consider adding a pinch of salt or a teaspoon of honey to your buttermilk.
- Reuse Leftover Buttermilk: Don’t discard any leftover homemade buttermilk! Use it as a marinade for chicken, in salad dressings, or as a tangy addition to baked goods.
Conclusion:
Congratulations! You’ve now mastered the art of making buttermilk at home. Enjoy the satisfaction of knowing exactly what goes into your kitchen creations and savor the rich, tangy goodness of your homemade buttermilk. Say goodbye to store-bought versions and hello to a new era of culinary creativity!


